

Next: polyadic B - D
Up: Collisions with B gliders
Previous: the three BBB -
Contents
B gliders can approach a D glider from two offsets.
| |
low |
high |
| D1 |
E1 |
E1 |
| D2 |
EBar + A |
EBar + A |
Figure 3.21:
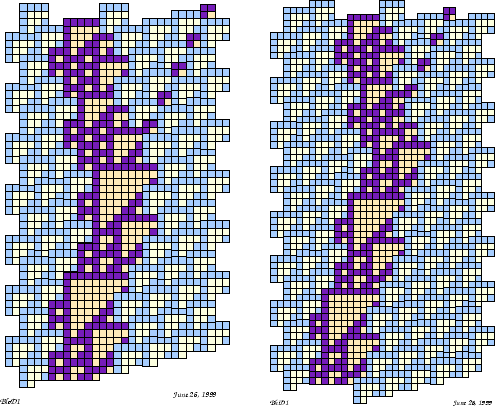
B and D1 collide, leave E. Although the same glider results from either collision, the intermediates differ slightly, as do the final positions of the resultants and the delay in their formation. The low collision on the left gives an instant result, whereas the high collision on the right almost creates an E, which only comes forth in full bloom thanks to the fact that its essential ingredients were already there.
 |
Figure 3.22:
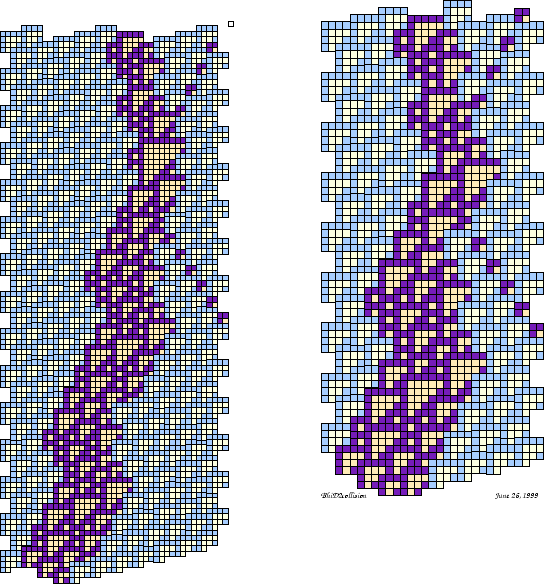
B and D2 collide, leave EBar and A, respectively, but following different routes. In the hi collision (right), the incoming T1 meets the D's T2 allowing the formation of a T5 two ether heights later, which in turn becomes an EBar glider after te emission of an A. In the lo collision (left), the incident T1 meets a T4, immediately generating a T8 which promptly falls into the hi sequence. Except for the discrepant intermediates and their corresponding delays, both B - D collisions produce the same eventual results. Still, they will respond differently to multiple B collisions.
 |


Next: polyadic B - D
Up: Collisions with B gliders
Previous: the three BBB -
Contents
Jose Manuel Gomez Soto
2002-01-31
