

Next: B - D collisions
Up: Collisions with B gliders
Previous: Collisions with B gliders
the three B - C collisions
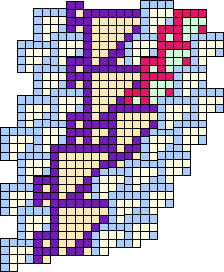
Figure 3.12:
B and C gliders, when the C tile is in the ``upper T1'' [C1] alignment, displace the C stack leftwards by four cells.
 |
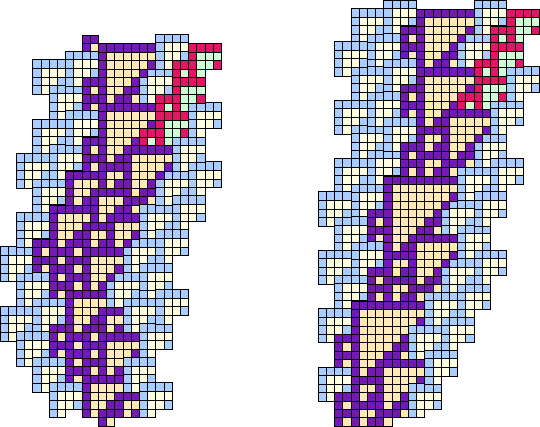
Figure 3.13:
B and C gliders, colliding when the C stack is in the ``lower T1'' [C2] alignment, metamorphose into a D glider, moving right at 1/5 c as shown in the left panel. When the stack is in the ``T3'' [C3] alignment, the result is an E glider, moving left at 1/4 c, as seen in the right panel.
 |
Example user SuSE Linux 6.2
2000-05-19
